

Getting Started with Bluetooth Mesh Development
Follow this post to set up a Bluetooth Mesh development environment on your system, and then build and run a Light Switch demo with nRF5 SDK for Mesh.
Table of Contents
- Introduction
- Hardware Requirements
- Set Up a Development System
- Clone the Repository
- Build the Mesh stack and examples
- Flash and Run the example
- Provision the devices
- Test the Bluetooth Mesh Network
- Reference
Introduction
Mesh networking is a new topology available for Bluetooth Low Energy (BLE) devices that enables many-to-many (m:m) communications. It's optimized for creating large-scale node networks and is ideally suited for building automation, sensor networks, and asset tracking solutions.
The Bluetooth Mesh Networking Specifications are developed and published by the Bluetooth SIG. They include:
-
Mesh Profile: Defines fundamental requirements to enable an interoperable mesh networking solution for Bluetooth LE wireless technology
-
Mesh Model: Introduces models, used to define basic functionality of nodes on a mesh network
-
Mesh Device Properties: Defines device properties required for the Mesh Model specification
More detailed information about Bluetooth Mesh is available in Bluetooth SIG's introduction to Bluetooth Mesh and the Bluetooth Mesh Networking Specifications.
The nRF5 SDK for Mesh is Nordic Semiconductor's implementation of the Bluetooth Mesh. It allows applications to use the features provided by the Bluetooth Mesh when running on Nordic's nRF5 Series chips.

See nRF5 SDK for Mesh Documentation for more information.
Hardware Requirements
-
One nRF52832-MDK or nRF52840-MDK for a Client
-
Several nRF52832-MDK or nRF52840-MDK for the Servers
-
Several Base Dock for holding the development boards
-
Grove - Button for turning ON/OFF the LED
-
A phone with nRF Mesh mobile app(iOS or Android) installed
Set Up a Development System
To build the example applications, a toolchain based on CMake is required. Follow one of the following guides for your host operating system:
Clone the Repository
Clone the board repository from GitHub:
# For nRF52832-MDK board
git clone ---recursive https://github.com/makerdiary/nrf52832-mdk.git

# For nRF52840-MDK board
git clone ---recursive https://github.com/makerdiary/nrf52840-mdk.git
The nRF5 SDK for Mesh now requires the nRF5 SDK to compile. Follow this instruction to Install the nRF5 SDK.
Build the Mesh stack and examples
Now you can try to build the Mesh stack and examples. Good practice is to create a build folder in the nrf_sdks/nRF5-SDK-for-Mesh directory, where all artifacts generated by the Ninja build system are stored:
nRF5-SDK-for-Mesh$ mkdir build && cd build
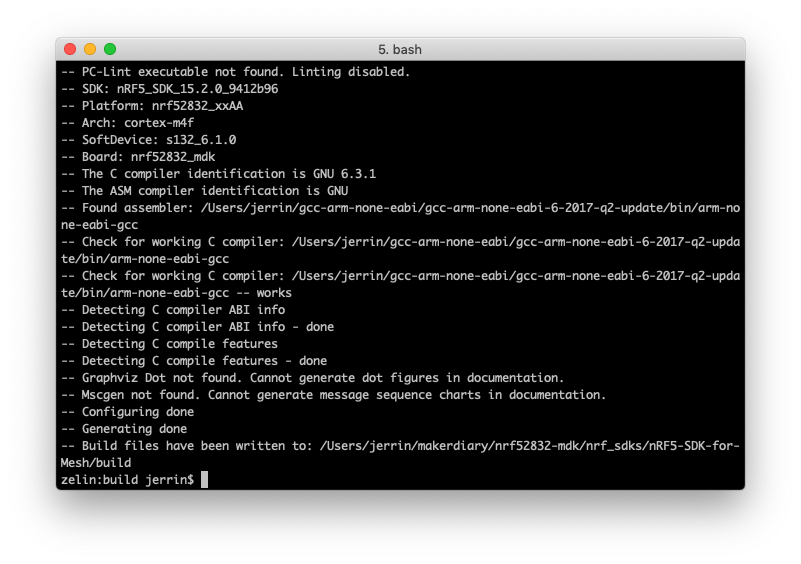
Before you can build with Ninja, you must generate the correct build files with CMake.
# For nRF52832-MDK board
cmake -G Ninja -DTOOLCHAIN=gccarmemb -DPLATFORM=nrf52832_xxAA -DBOARD=nrf52832_mdk -DFLASHER=pyocd ..

# For nRF52840-MDK board
cmake -G Ninja -DTOOLCHAIN=gccarmemb -DPLATFORM=nrf52840_xxAA -DBOARD=nrf52840_mdk -DFLASHER=pyocd ..
After the Ninja build files are generated, run ninja <target> to build the targets. The following targets need to be build in this example:
For nRF52832-MDK:
- my_light_switch_client_nrf52832_xxAA_s132_6.1.0
- my_light_switch_server_nrf52832_xxAA_s132_6.1.0
For nRF52840-MDK:
- my_light_switch_client_nrf52840_xxAA_s140_6.1.0
- my_light_switch_server_nrf52840_xxAA_s140_6.1.0
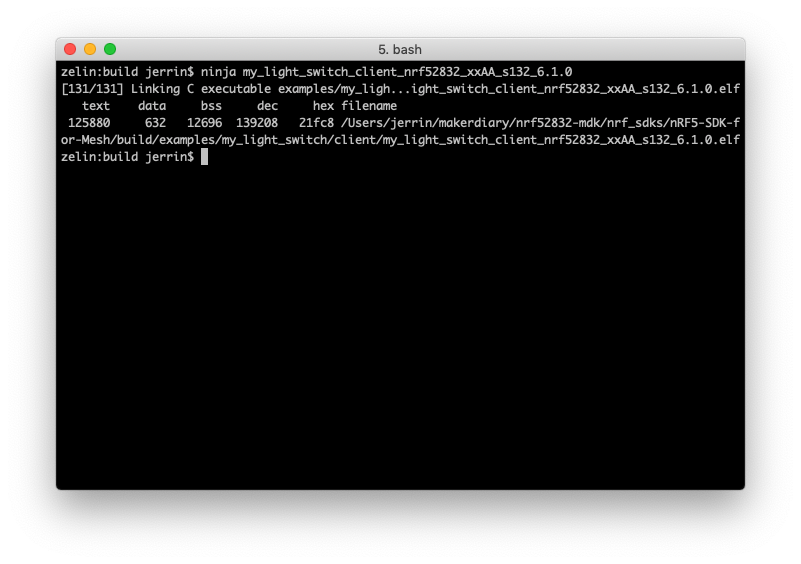
For example, run the following script to build a Light Switch Client application:
# For nRF52832-MDK board
ninja my_light_switch_client_nrf52832_xxAA_s132_6.1.0

# For nRF52840-MDK board
ninja my_light_switch_client_nrf52840_xxAA_s140_6.1.0
Flash and Run the example
After connecting the board to your computer, run ninja flash_<target> to flash the example.
For example, flash the client application to nRF52832-MDK board:
ninja flash_my_light_switch_client_nrf52832_xxAA_s132_6.1.0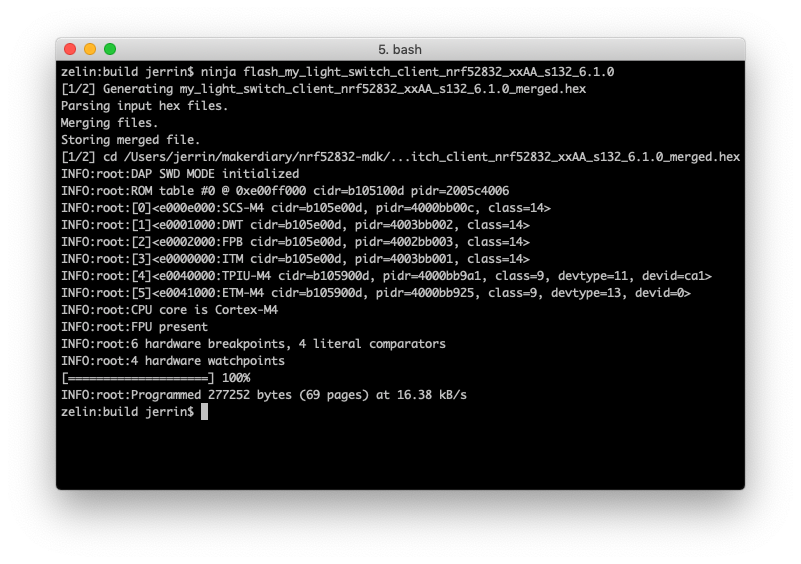
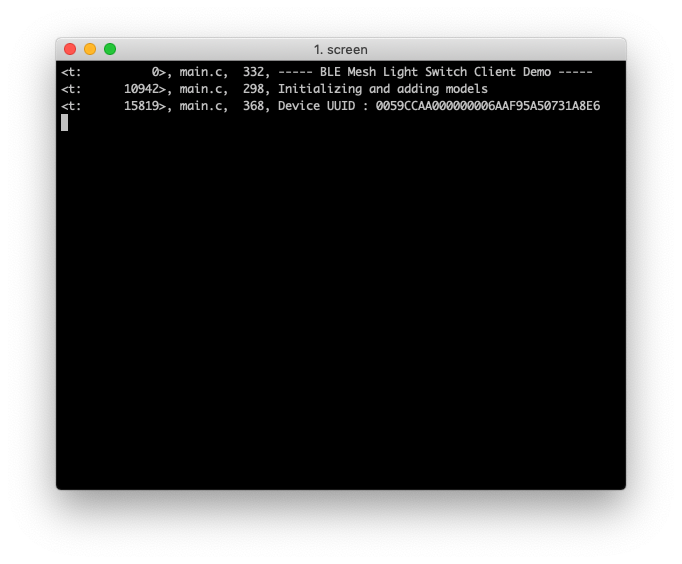
Optionally you can run a terminal application(PuTTY or screen, etc.) to view the log information:
screen /dev/cu.usbmodem1412 115200
Repeat the above steps to flash other several boards with the Server target:
# For nRF52832-MDK board
ninja flash_my_light_switch_server_nrf52832_xxAA_s132_6.1.0

# For nRF52840-MDK board
ninja flash_my_light_switch_server_nrf52840_xxAA_s140_6.1.0
Provision the devices
To participate in mesh communication, each device must be provisioned. Provisioning is the act of adding a device to a mesh network. Through the provisioning process, the new device receives a range of addresses, a network key, and a device key.
For a detailed guide on how to use provisioning, see Mesh Provisioning.
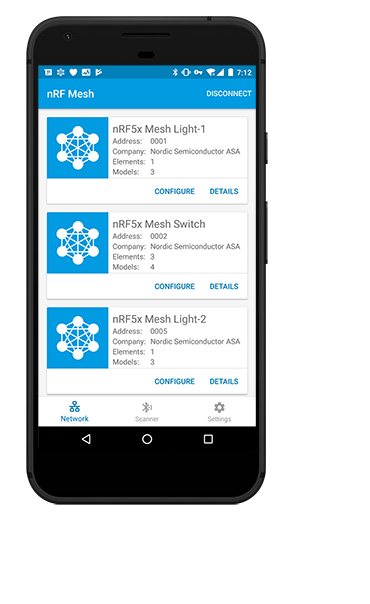
Here we use nRF Mesh mobile app to provision the client and server devices:
- Power on the client and server boards
- Launch the nRF Mesh mobile app. In Scanner tab, several mesh nodes will be discovered: The client board is nRF5x Mesh Switch and the server board is nRF5x Mesh Light.

- Select the nRF5x Mesh Switch. After provisioning, you will see two Generic On Off Client model instances.

- Bind the instances with the same app key. Set the publish address of the first Generic On Off Client to 0xCAFE and the second one to 0xCAFF.

- Config the nRF5x Mesh Light nodes. Bind the servers with the same app key as the client. Set the subscribe address to 0xCAFE or 0xCAFF mentioned above.

- Now you have built a Bluetooth Mesh with several nodes.


Test the Bluetooth Mesh Network
Once provisioning and configuration of the client node and at least one of the server nodes is completed, you can press buttons on the client to see the LEDs getting toggled on the associated servers.
See the Bluetooth Mesh Network in action.