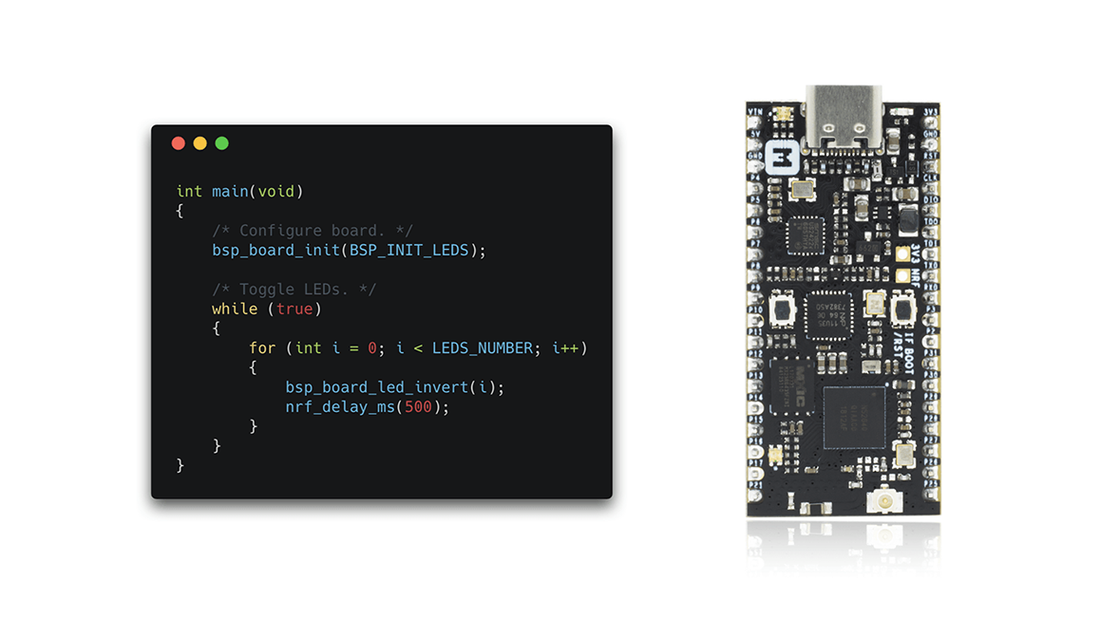
How to Use nRF5 SDK with ARM GCC
Share
In this post we will go over how to set up nRF5 SDK with GNU Arm Embedded Toolchain and how to use it to build and run your first application.
Table of Contents
- Introduction
- Installing GNU Arm Embedded Toolchain
- Installing GNU make
- Installing the nRF5 SDK
- Compiling and running blinky example
- Running examples that use a SoftDevice
- More examples
Introduction
The nRF5 SDK provides a rich developing environment for nRF5 Series devices by including a broad selection of drivers, libraries, examples for peripherals, SoftDevices, and proprietary radio protocols.
The SDK is delivered as a plain .zip-archive, which makes it easy to install as well as giving you the freedom to choose the IDE and compiler of your choice.
We provide example applications that you can run on your nRF52840-MDK to ensure that everything is set up correctly. After these tests, you can use the examples as starting point to develop your own applications.
Before we begin, we need to install some software components to build our example applications. Here we will use GNU Arm Embedded Toolchains as they are free and open-source.
Installing GNU Arm Embedded Toolchain
The GNU Embedded Toolchain for Arm is a ready-to-use, open source suite of tools for C, C++ and Assembly programming targeting Arm Cortex-M and Cortex-R family of processors. It includes the GNU Compiler (GCC) and is available free of charge directly from Arm for embedded software development on Windows, Linux and macOS operating systems.
These toolchains are based on Free Software Foundation's (FSF) GNU Open source tools and newlib.
The pre-built GNU Arm Embedded Toolchain can be downloaded using the following link: Download.
Download and install the 6-2017-q2-update version. Then make sure to add the path to your toolchain to your OS PATH environment variable:
# in ~/.bash_profile, add the following script
export PATH="<path to install directory>/gcc-arm-none-eabi-6-2017-q2-update/bin:${PATH}"
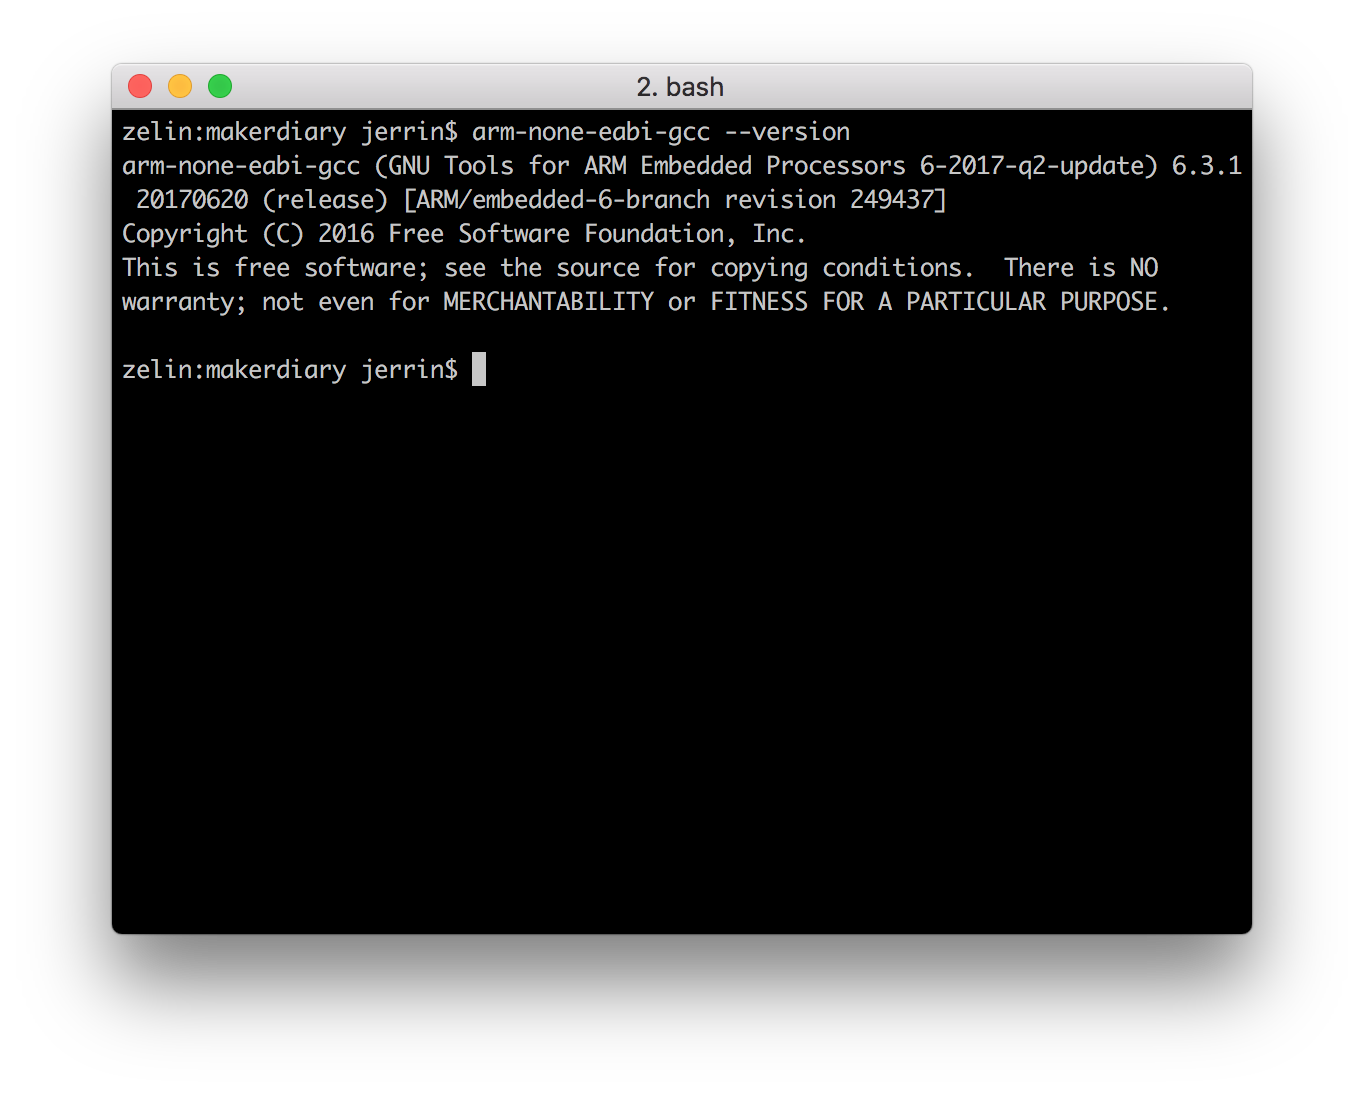
Adding the path makes it possible to run the toolchain executables from any directory using the terminal. To verify that the path is set correctly, type the following in your terminal:
$ arm-none-eabi-gcc --version
Installing GNU make
Now with the toolchain installed we can build object files from source code, but to build projects based on makefiles, which can be seen as a recipes for the builds, we need to have GNU make installed on the system.
On Windows the easiest way to install the dependencies is to use the MSYS2. You can do so by performing the following steps:
- Download and run the installer - "x86_64" for 64-bit, "i686" for 32-bit Windows.
- Update the package database and core system packages with:
$ pacman -Syu - If needed, close MSYS2, run it again from Start menu. Update the rest with:
$ pacman -Su - Install dependencies:
$ pacman -S git make python2
Linux and macOS already have the necessary shell commands, but GNU make may not be a part of the standard distro. Call make -v from the terminal to check whether it is installed or not. GNU make would need to be installed if it's not recognized as a command.
GNU make is bundled with Xcode tools if working on macOS.
On Linux it may be different ways to obtain GNU make depending on your distro, if not installed already. On Ubuntu you can get by entering this command:
$ sudo apt-get install build-essential checkinstall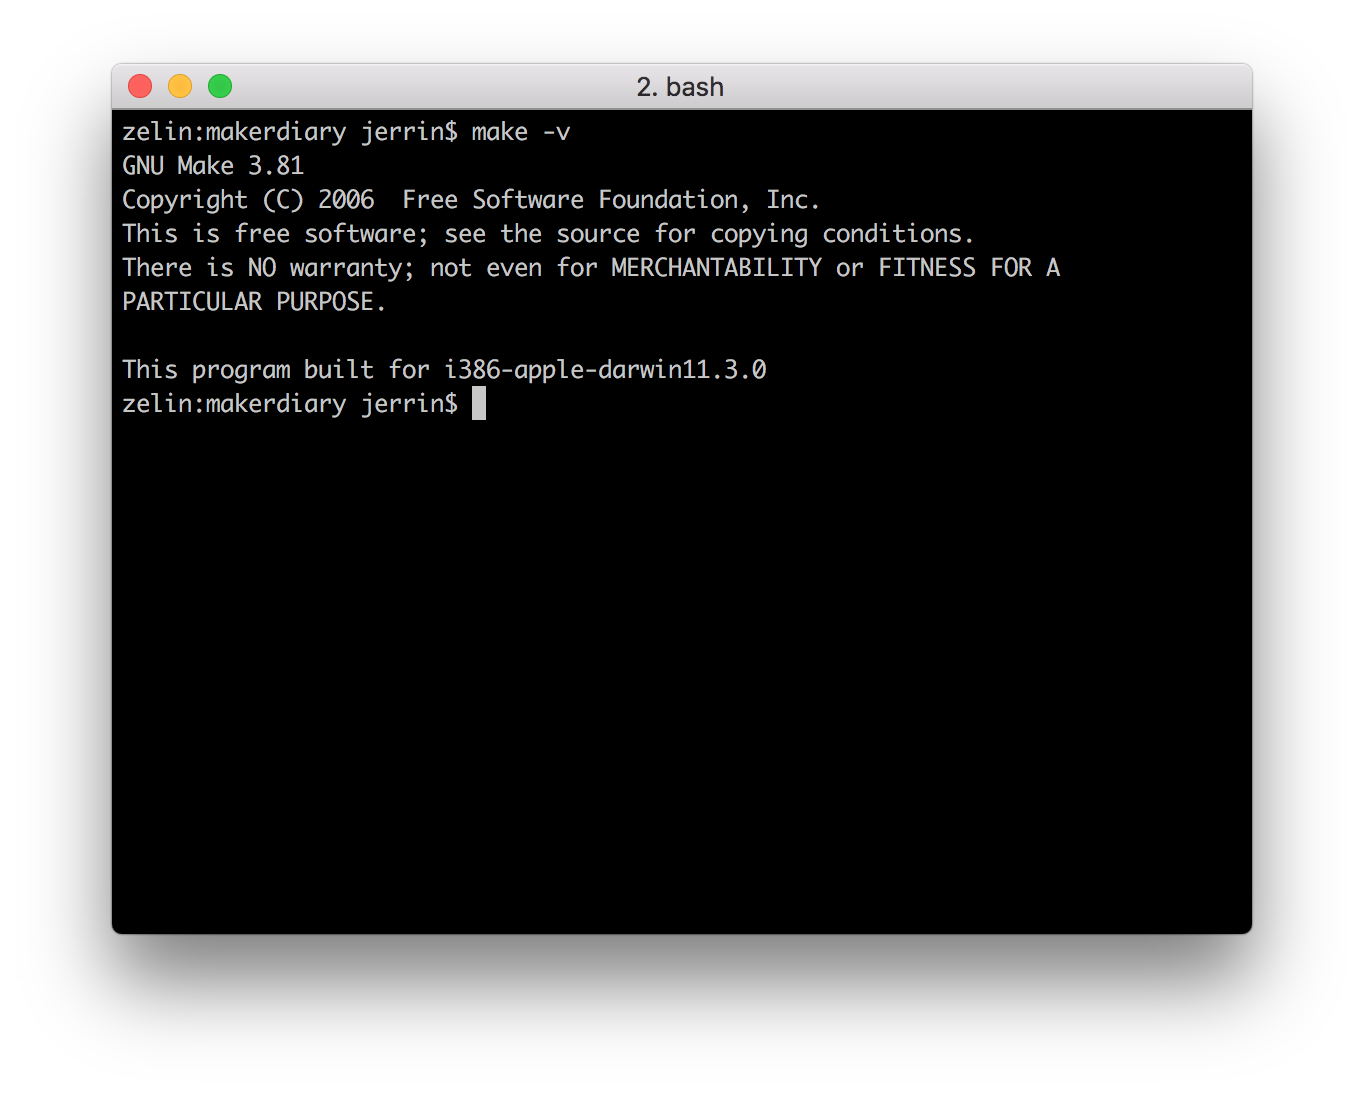
Installing the nRF5 SDK
Download the SDK file nRF5_SDK_v15.0.0_a53641a.zip from developer.nordicsemi.com.
The latest version is 15.0.0, it can be downloaded directly here: Download.
Extract the zip file to the nrf52840-mdk repository. This should give you the following folder structure:
./nrf52840-mdk/
├── LICENSE
├── README.md
├── firmware
├── docs
├── examples
├── mkdocs.yml
├── nrf_sdks
│   └── nRF5_SDK_15.0.0_a53641a
└── tools
To build an example application you first need to set the toolchain path in makefile.windows or makefile.posix depending on platform you are using. That is, the .posix should be edited if your are working on either Linux or macOS. These files are located in:
<SDK>/components/toolchain/gccOpen the file in a text editor (Sublime is recommended), and make sure that the GNU_INSTALL_ROOT variable is pointing to your GNU Arm Embedded Toolchain install directory.
GNU_INSTALL_ROOT := $(HOME)/gcc-arm-none-eabi/gcc-arm-none-eabi-6-2017-q2-update/bin/
GNU_VERSION := 6.3.1
GNU_PREFIX := arm-none-eabi
Compiling and running blinky example
Now you can try to build one of the examples. Will use the blinky example here to keep it simple.
Open terminal and change directory to:
$ cd ./nrf52840-mdk/examples/nrf5-sdk/blinky/armgcc/Connect the nRF52840-MDK to one of your PC's USB host ports. Compile and program the example:
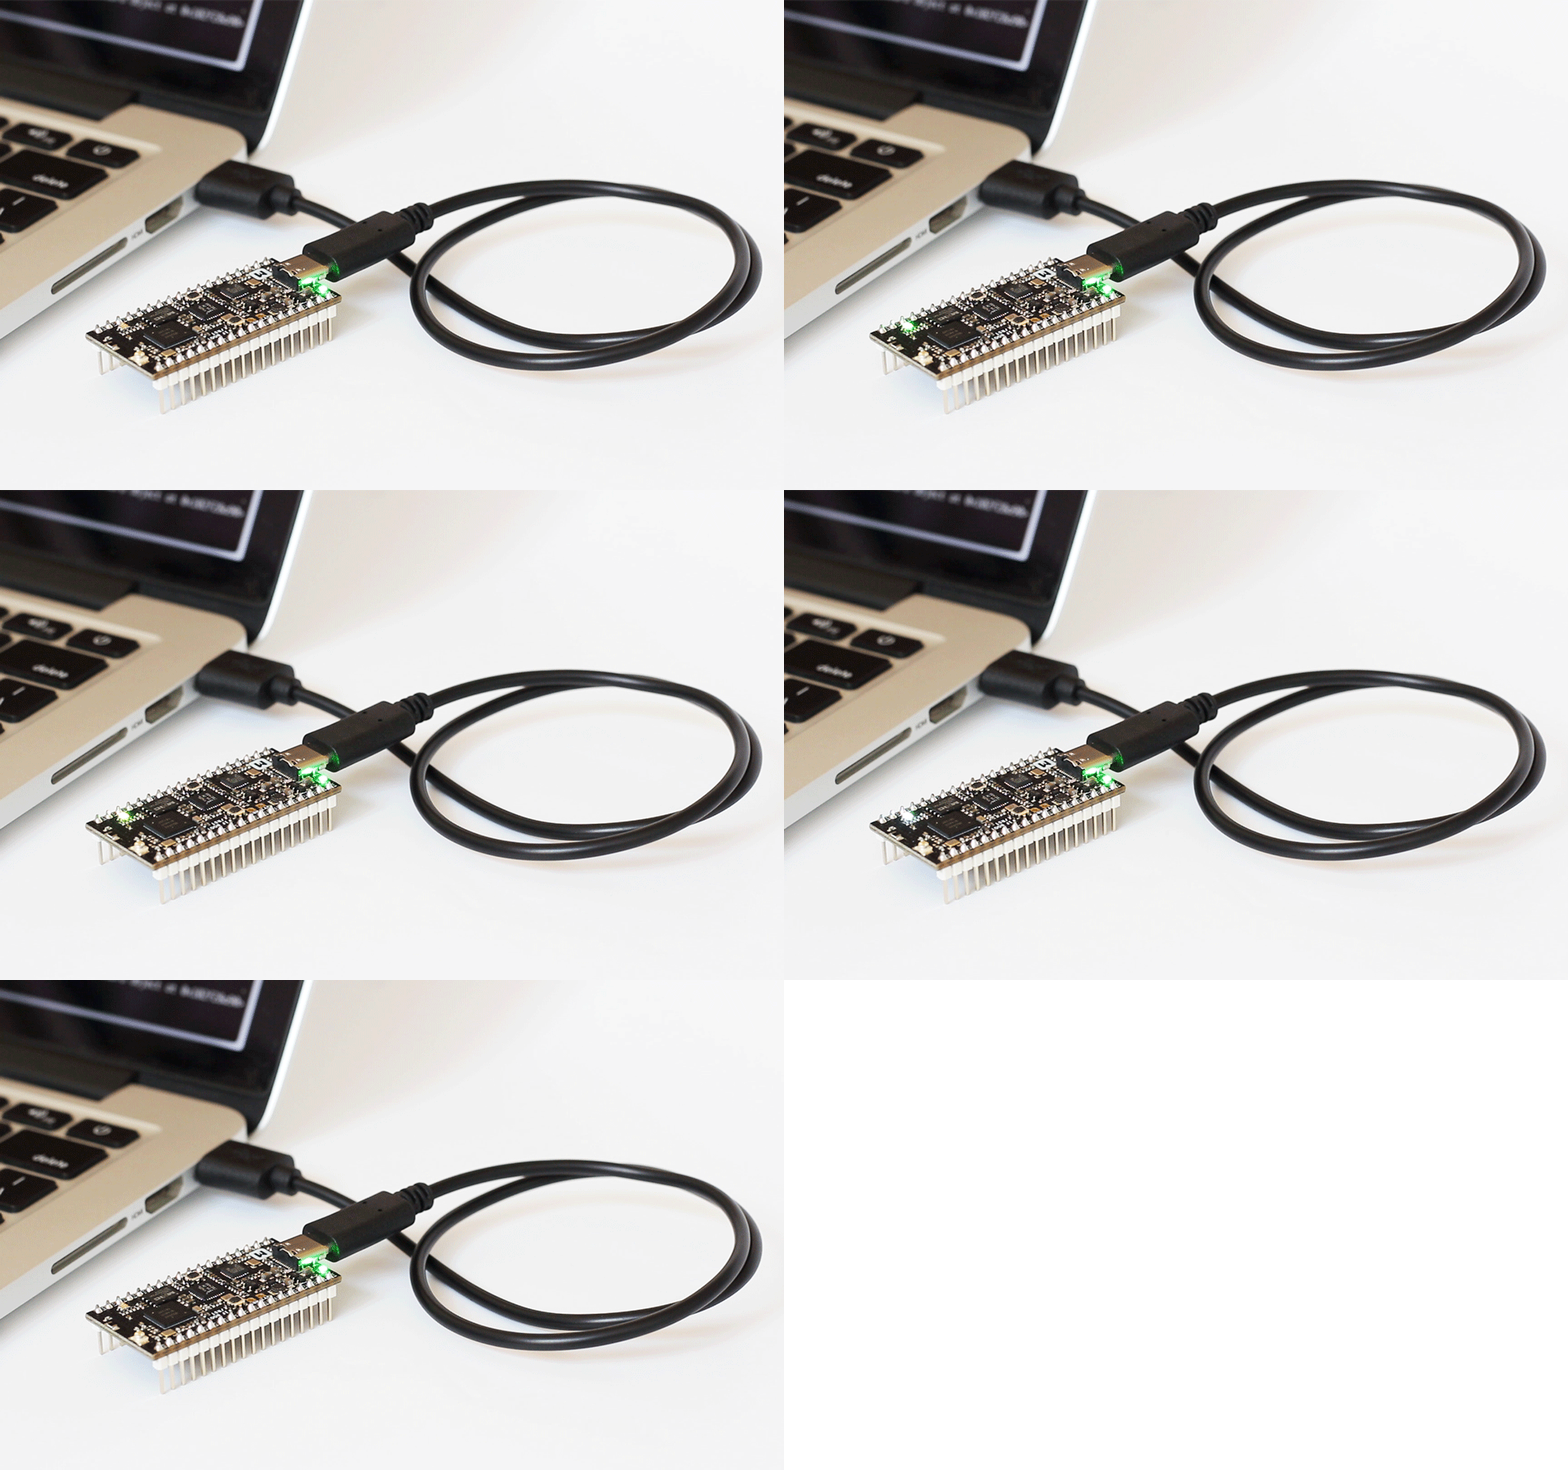
$ make flashObserve that the LEDs are blinking:
Running examples that use a SoftDevice
Before you can run more advanced examples that use Bluetooth or ANT, you must program the SoftDevice on the board.
The SoftDevice binary is located in folder components/softdevice/<SoftDevice>/hex in the SDK, where <SoftDevice> is the name of the SoftDevice. You can also download SoftDevices from nordicsemi.com.
The easiest way to program the SoftDevice is using the GCC makefile of an example:
- Open a command prompt in the folder that contains the makefile of an example. The example must require a SoftDevice. For example, the
ble_app_blinkyexample.# change to the armgcc directory of 'ble_app_blinky' example $ cd ~/nrf52840-mdk/examples/nrf5-sdk/ble_app_blinky/armgcc - Run the following command:
# this will compile & program the application(without SoftDevice)
$ make flash
# this will program SoftDevice alone $ make flash_softdeviceOr
# this will program the application with SoftDevice
$ make
$ make flash_all
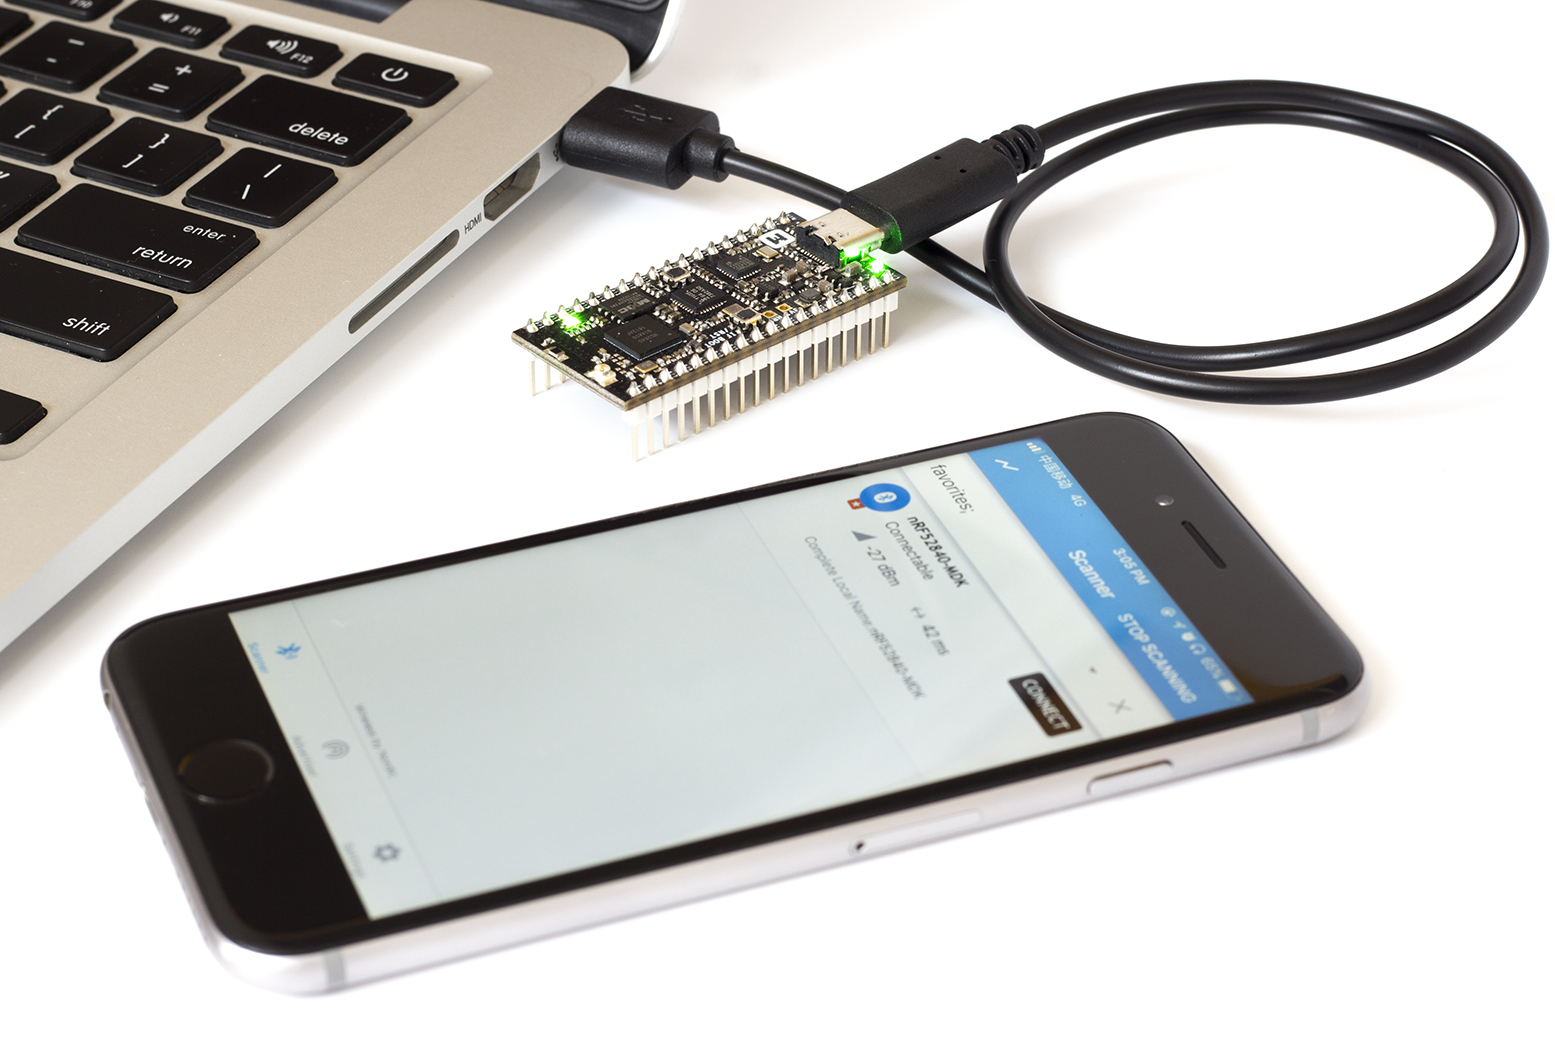
More examples
Over time, more example applications will be added to the repository. You can star or watch the nrf52840-mdk repository to stay up to date.
License

This post is licensed under a Creative Commons Attribution 4.0 International License.
